Overview
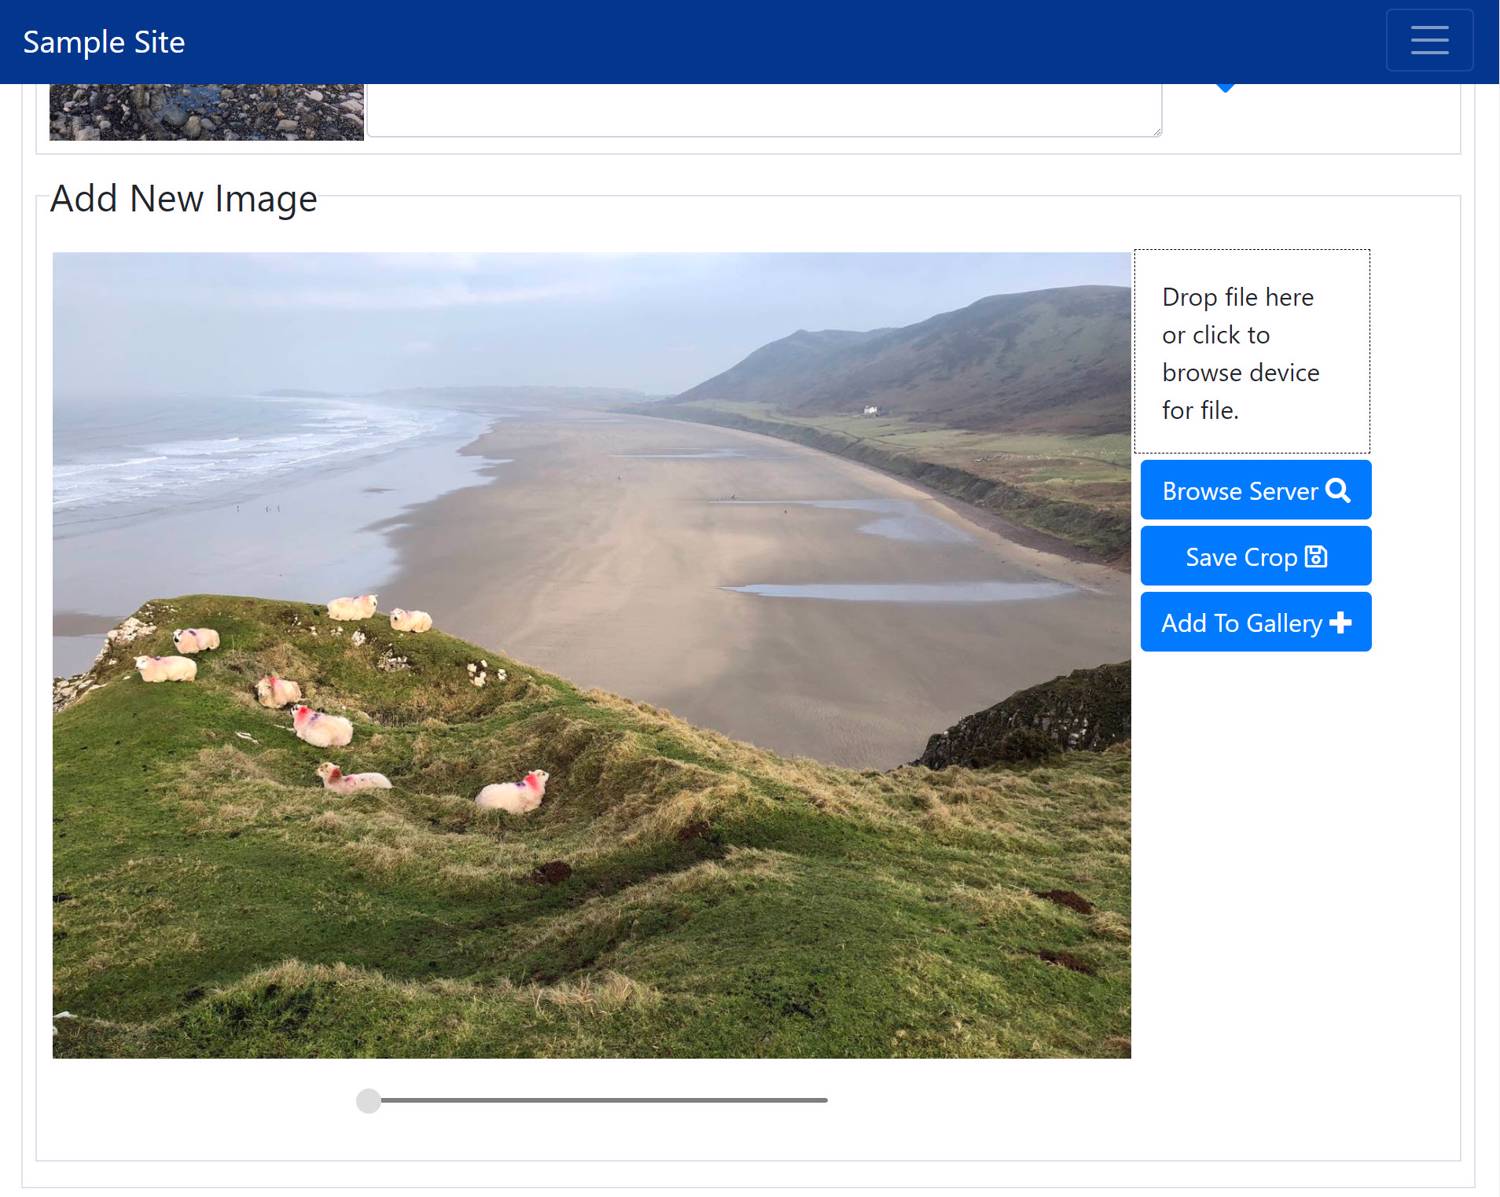
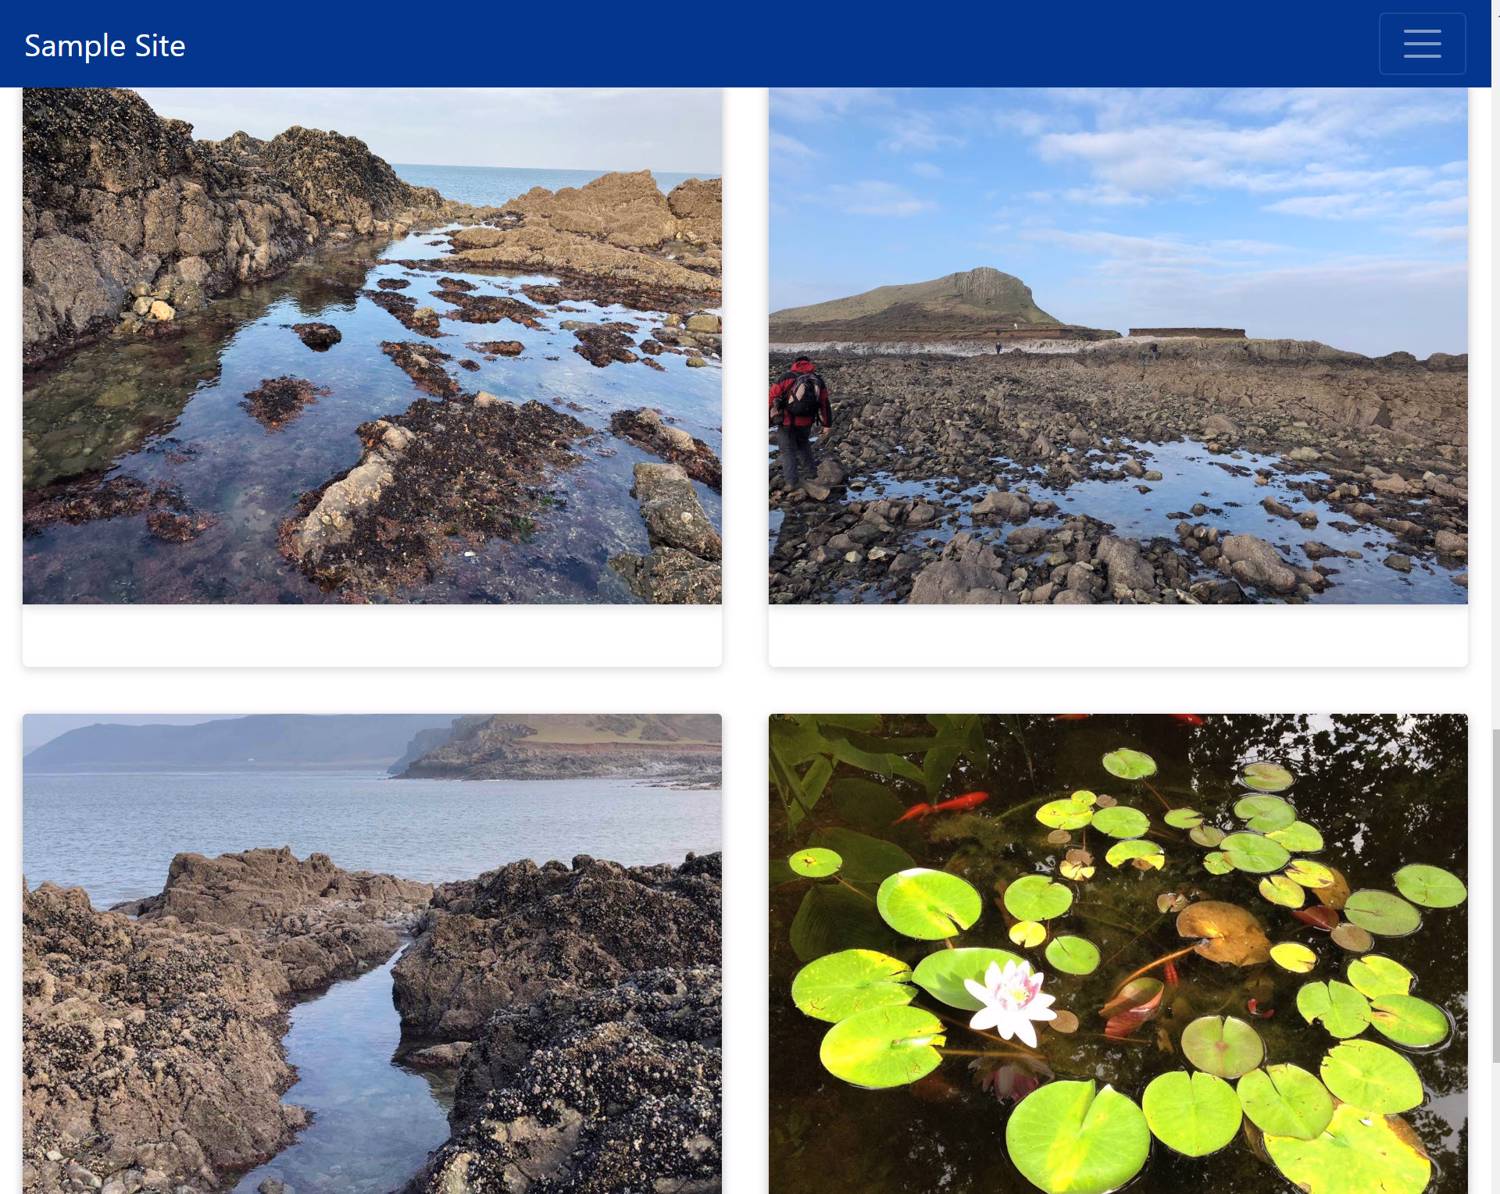
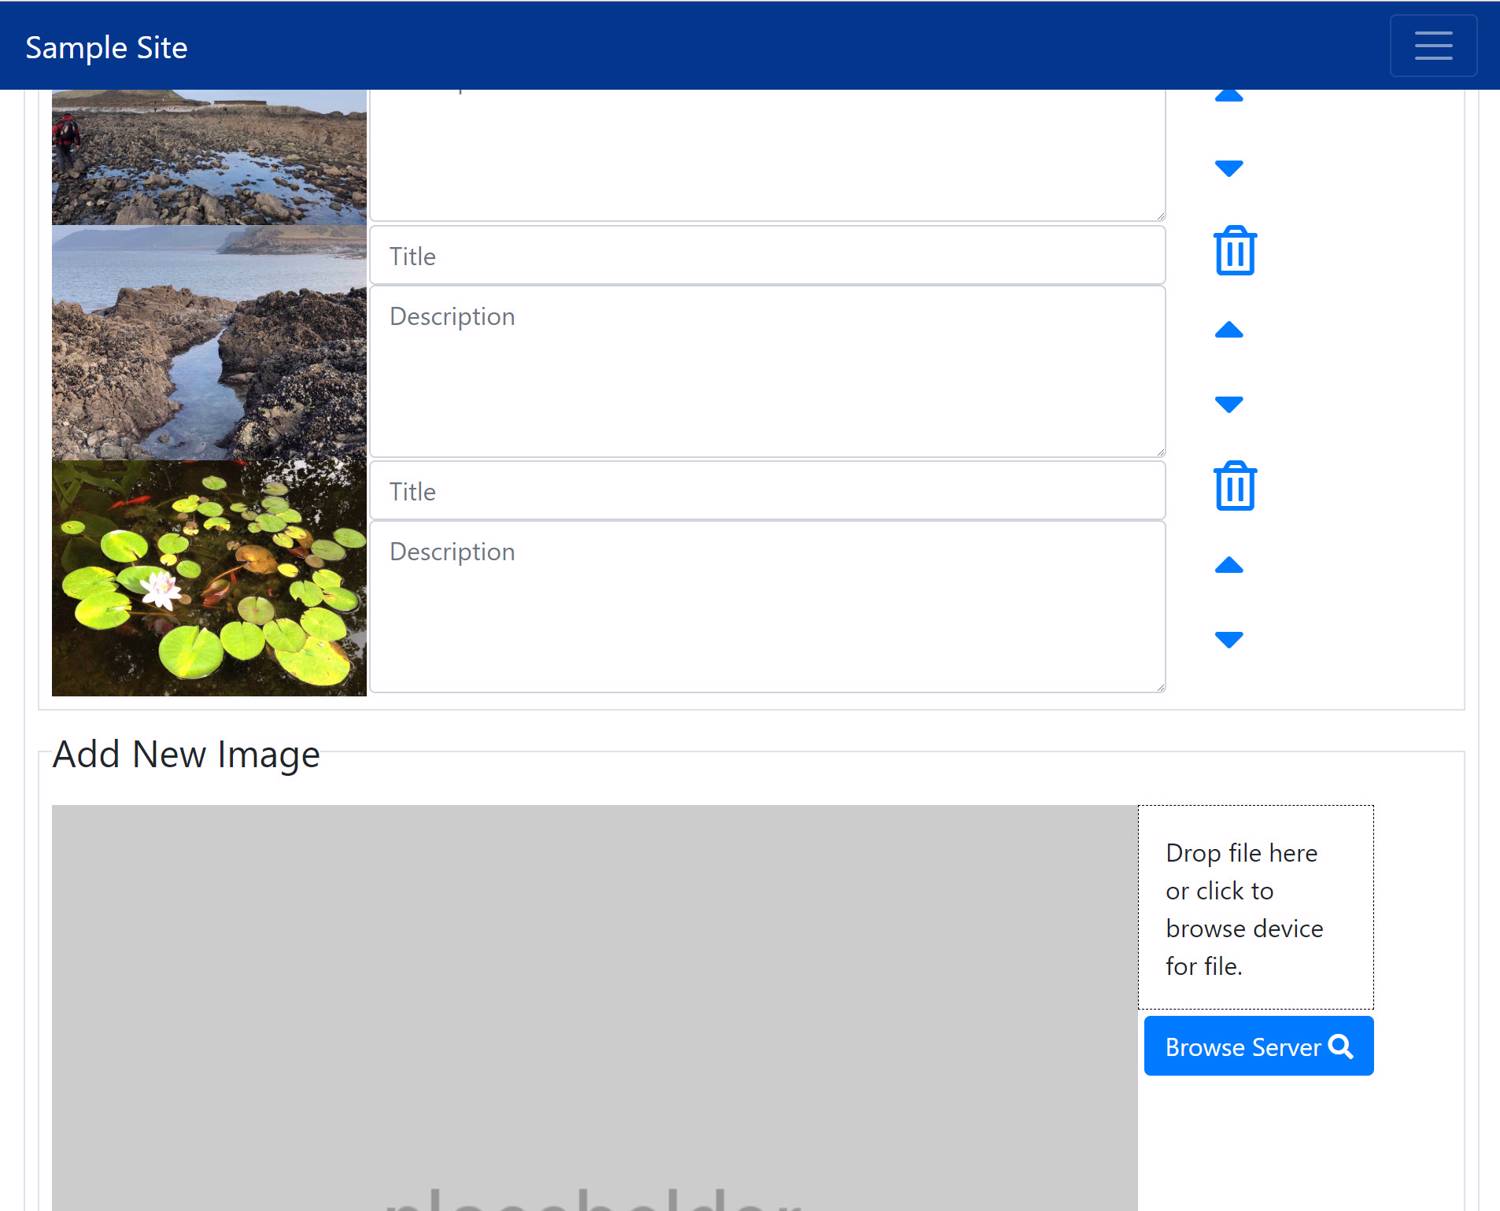
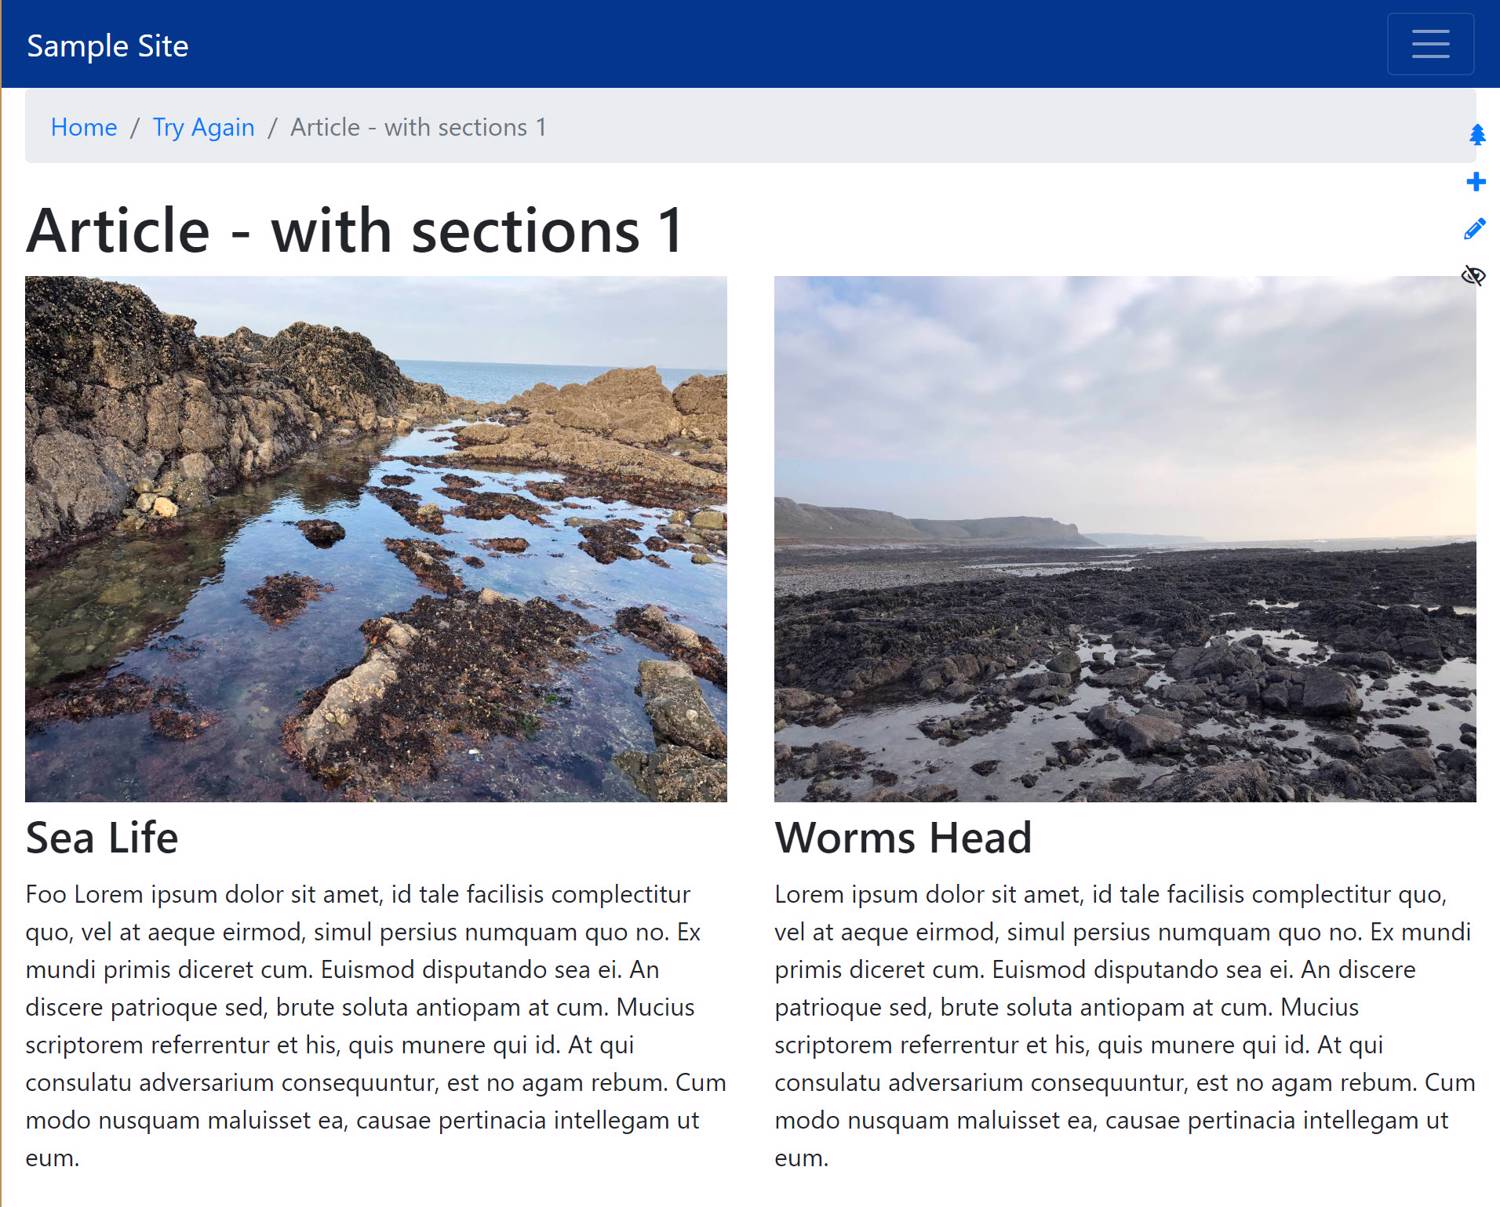
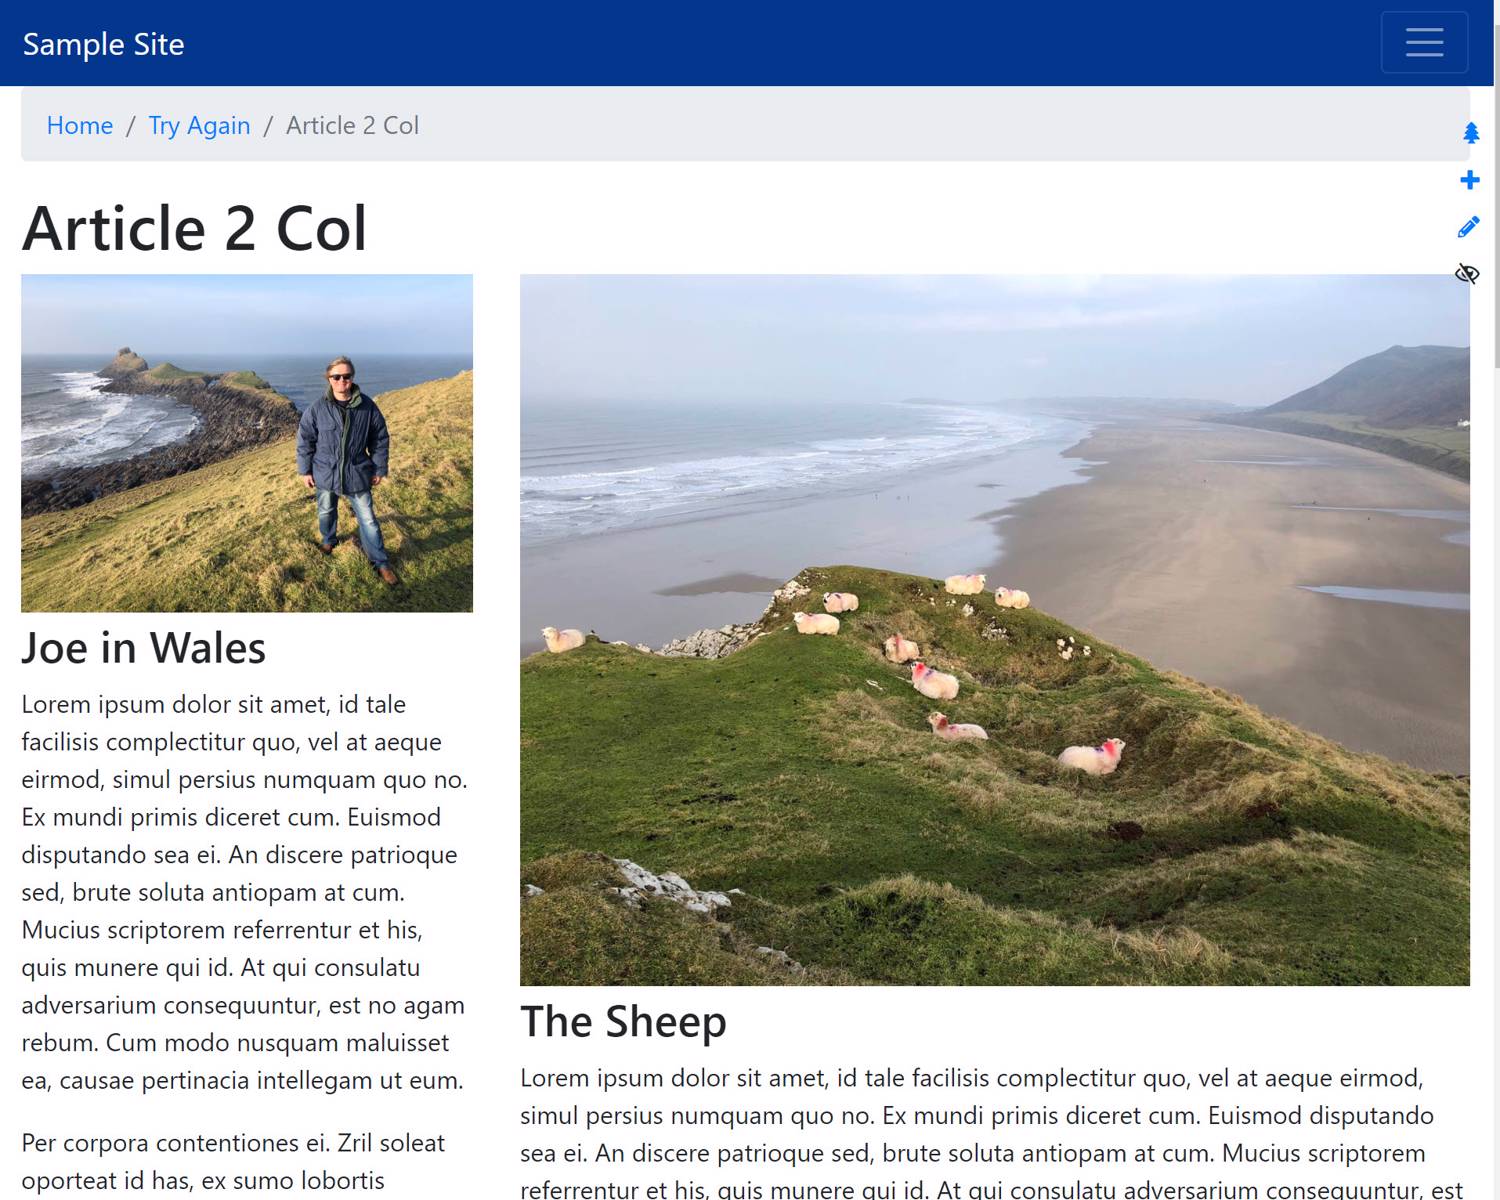
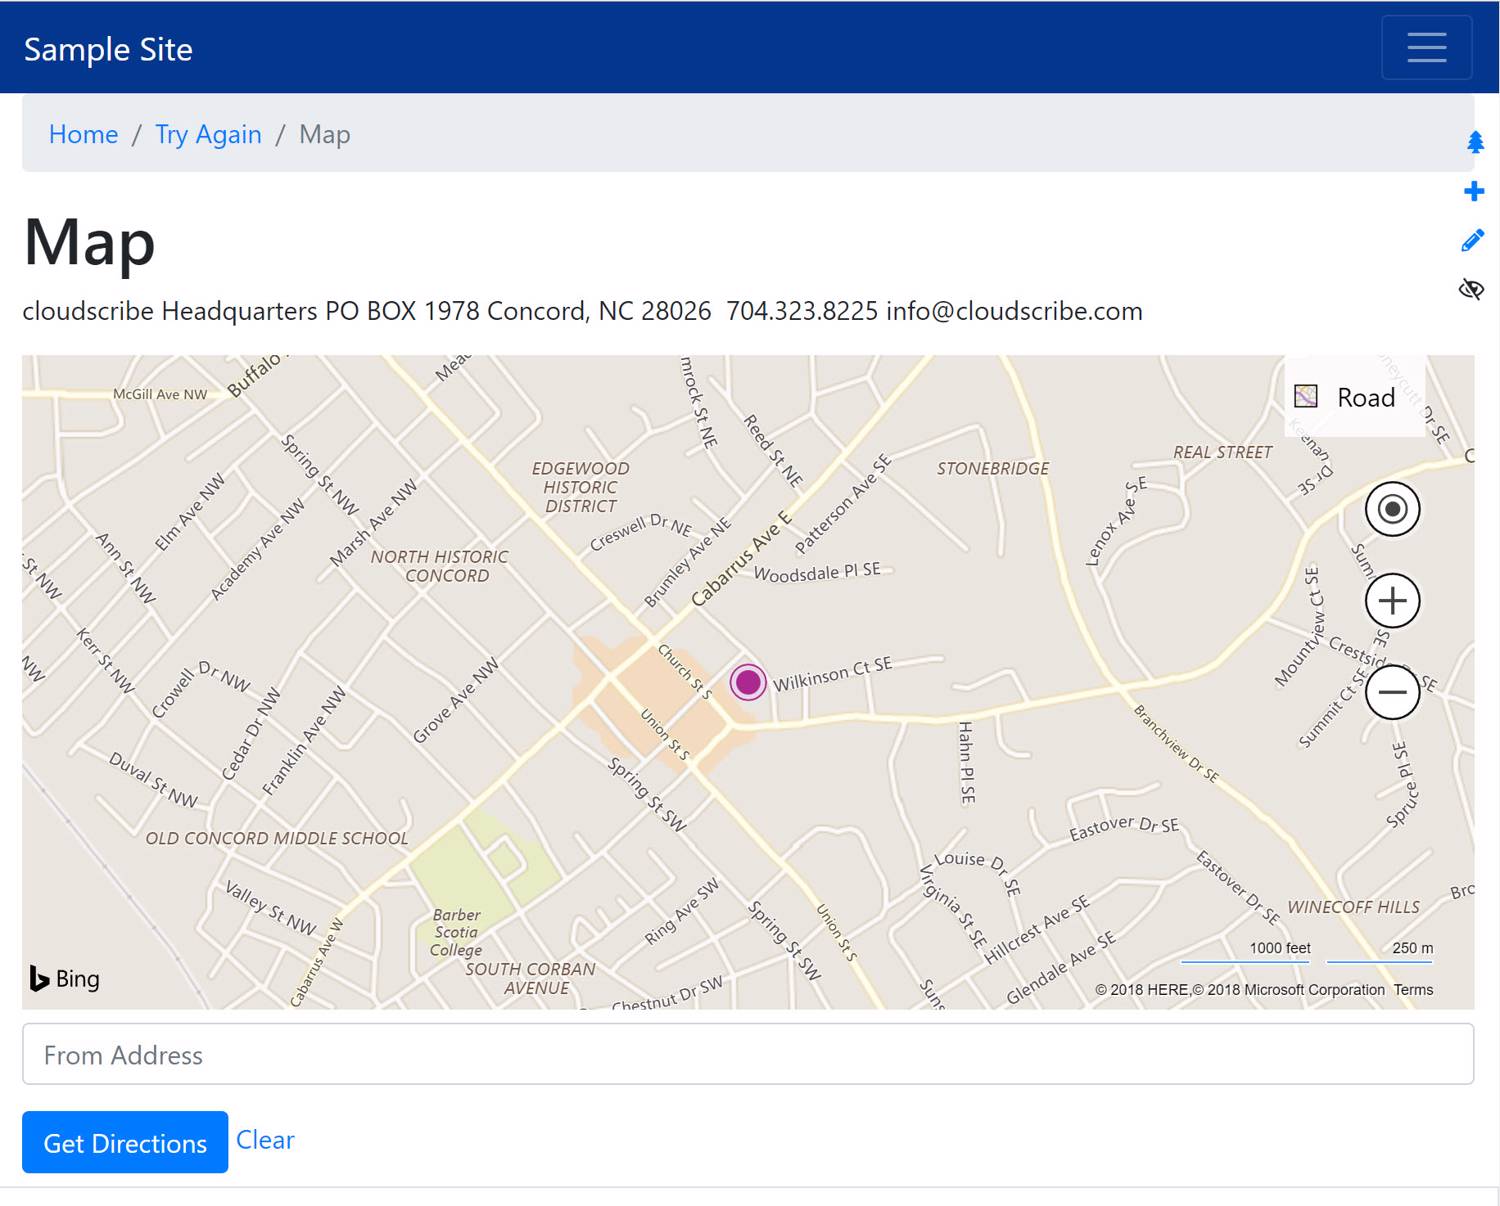
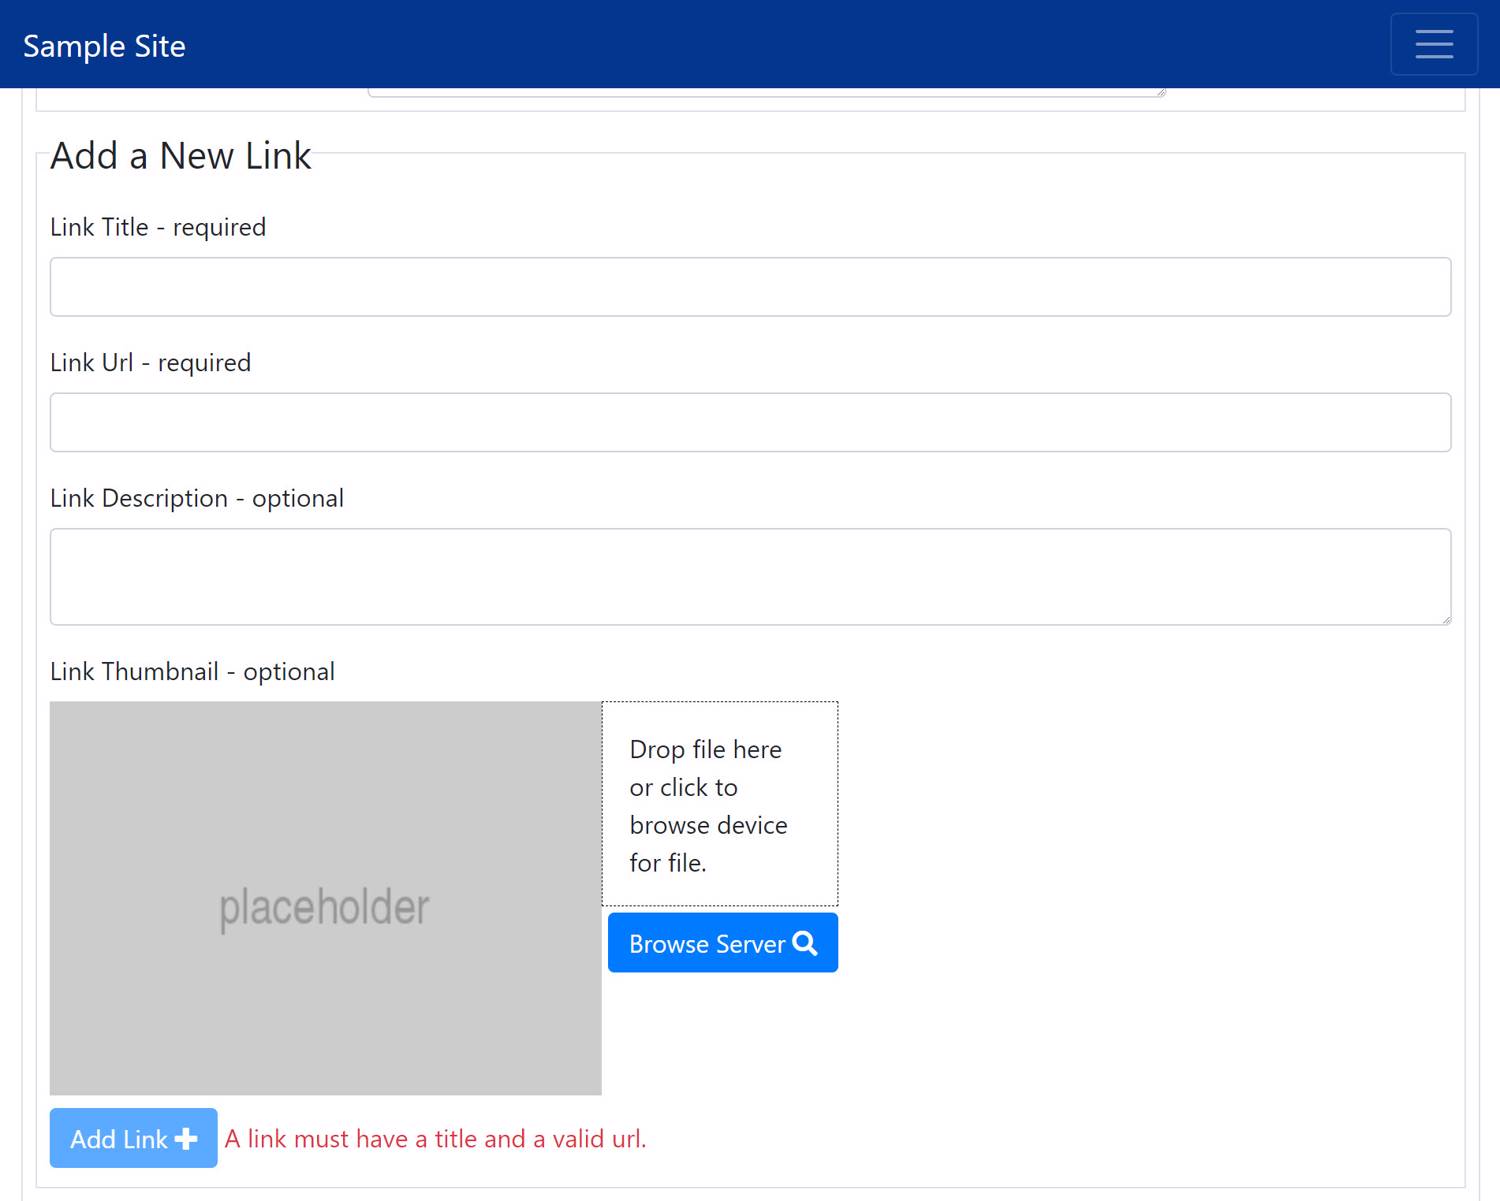
Content templates are a powerful new feature in SimpleContent 4.0 or newer. Several nice content templates currently ship with cloudscribe SimpleContent that provide advanced features such as image gallery, responsive column layouts, lists of links, Bing map, and more. Content templates make it easy for non-technical users to do the right thing when creating content without having to be experts in html and without much risk that they can mess anything up. Content templates are easy to develop and can be plugged in to a site via configuration or they can also be packaged as NuGet packages and added to a project with one line of code. Content templates are supported both for pages and blog posts, but individual templates can declare whether they are supported in pages, posts, or both since some templates might make sense for pages but not for posts. Notice that this page (the one you are reading right now) is using the Image Gallery template and the layout for a bootstrap carousel floated to the right so the content flows around the carousel of images. The images are screen shots of some of the content templates.
From SimpleContent 6.0.4 we are also including by default a "Role based content" template, which makes it simple to show different content on a page depending on whether the user is anonymous or authenticated, and their role.
Content templates also integrate nicely with the draft publishing workflow and the content history of all edits to a page or post, and make SimpleContent truly easy to use even for non-technical people.
Anatomy of a Content Template
Content templates basically consist of:
- A View Model - you bring your own model and can use data annotations to get automatic client side and server side validation for primitive types. Your model can also support lists but that requires following some conventions and requires javascript in the edit view to manage the list client side.
- An Edit view - a partial view that you create to edit your view model
- A Render view - a partial view that you create to render your model to html
- Optionally a Dynamic Render Partial View - if you want your template to render on every page request instead of just at save/publish time
- Optionally your template can declare javascript and css files needed for editing
- Optionally your template can declare javascript and css to include in the rendered page
The experience of developing a content template is pretty much the same as for developing any ASP.NET Core ViewModel with an edit view and a render view, if your model consists only of primitive types it is exactly the same process, so there is not a big learning curve involved. It is a little more complicated if your model has a list of items of some kind because then the state of the list has to be saved all at once in the same server post along with any primitive properties of your model. We've come up with a convention for handling the postback of lists on the server and a pattern for managing the list client side in javascript. You can study the Image Gallery template and the List of Links template to learn how we have done that and you can use the same conventions and patterns for your own list. The template system is also very extensible so if the conventions and patterns that we use are not sufficient for your own model, it is possible for you to plugin a custom form parser for your template and also possible to plugin a custom server side validator per template and even a custom serializer per template if needed. But as you can see from the templates we ship that all work with our default serializer, form parser, and validator, you shouldn't need to implement any of that unless you are doing something really fancy. It is worth noting that there is nothing special about the models and views used for content templates, they are just normal views and models that you already know and love, there are no magic base classes required or anything like that.
How it Works
When you click a button to create a page or post from a content template, the page or post is initialized as a draft, an empty version of your model is created and serialized as a string (JSON) and stored along with the other page or post properties, then it redirects to the edit page where the model is deserialized from the previously saved string and the model is passed into the Edit partial view defined by your template configuration. When you save the page or post our Default form parser uses reflection to inspect the properties of your model and it looks for posted values in the form with the same name as your model properties and if they are found it updates the model, serializes and saves it again and it uses your render view to render a string from your model and puts that into the main content field of the page or post just the same as if it were any other editable content. For models that have generic List of T properties, our Default form parser looks for a posted value named the same as the property name plus Json, if it finds a posted value it first Url Decodes the posted value to get the raw JSON string and then deserializes the JSON string back into your list and updates the model. There is also a Default validator that does server side validation of the primitive properties of your model based on data annotations in your model. If you follow the same approach and conventions that we have used, the default form parser and validator should work for your model, but if you want to do something different you can also inject your own custom form parser and/or custom validator and declare in your template configuration that it should use those instead of the default ones. The state of your model is always saved as a serialized string after every edit, and the model and the render view are used to render an HTML string that goes into the content field. To manage lists in our edit view we use javascript to manage the list and the current state of the list is kept in a hidden field with a json string that is Url Encoded and named [PropertyName]Json where PropertyName is the name of the list property on the model. That convention works with our Default form parser but other approaches are possible if you want to implement a custom form parser for your template.
Note that the render view is not used on each request, it is only used to render an html string that goes into the content body of a page or post and this rendering happens only when you save the content. Since we need to render only an html fragment, not an entire web page, the render view needs to use an empty layout file. There is a built in empty layout file in SimpleContent so you just add this in the top of your render view and it will use that empty layout file:
@{
    Layout = "_LayoutEmpty";
}
Another thing to keep in mind while you are developing templates, is if you make a change to your render template, an existing page or post that uses your template does not change until you compile the template and save the content again because rendering only happens when you save the content.
Dynamic Rendering
As noted above the default behavior is to render the content at save/publish time into a string that goes into the main content body of a page or post. However, in the latest version we have added the possibility for templates to render on every page request. The serialized model is still only saved on save/publish, but it is now possible to have the model rendered into a render view on each page/post request. To make a template that renders on every request, you simply set the new property DynamicRenderPartialView on the ContentTemplate and you have to provide that view in the Views/Shared folder in your project. You do still have to set the RenderView property to a main view, not a partial view and it has to use the _EmptyLayout for its layout. The main view can simply consume the partial view so that you don't duplicate any view logic. At save/publish time the main render template will still be rendered into a string and saved in the main content body of the page/post, but your partial view will be used to render the content on every request instead of just using the main content body. This way, you can have conditional logic in your partial view to render differently based on whatever conditions you want such as if the user is authenticated. You can inject any needed services into your view to make decisions about what to render.
Plugging in Custom Content Templates
Adding Templates by Configuration (appsettings.json)
Content templates can be added to an installation of cloudscribe SimpleContent by configuration in appsettings.json, or they can be packaged in a Razor Class Library published as a NuGet package and added with one line of code in Startup. Note that if no content templates are installed we don't show an empty list, the new content button would just go to the standard edit page instead. If you are developing a template directly in your web application, the configuration approach is very easy as shown in this example JSON fragment:
"ContentTemplateConfig": {
    "Templates": [
      {
        "ProjectId": "*",
        "AvailbleForFeature": "Page",
        "Key": "acme-StaffMemberTemplate",
        "Title": "Staff Member",
        "Description": "A template for creating a staff member page.",
        "ModelType": "sourceDev.WebApp.ViewModels.StaffMemberViewModel, sourceDev.WebApp",
        "EditView": "ContentTemplates/StaffMemberEdit",
        "RenderView": "ContentTemplates/StaffMemberRender",
        //"DynamicRenderPartialView": "ContentTemplates/StaffMemberRenderPartial",
        "FormParserName": "DefaultModelFormParser",
        "ValidatorName": "DefaultTemplateModelValidator",
        "SerializerName": "Json",
        "Enabled": "true",
        "EditScripts": [
          {
            "Url": "/cr/js/dropzone.min.js",
            "Environment": "any",
            "Sort": "1"
          },
          {
            "Url": "/cr/js/croppie.min.js",
            "Environment": "any",
            "Sort": "2"
          },
          {
            "Url": "/filemanager/js/cloudscribe-unobtrusive-file-drop.min.js",
            "Environment": "any",
            "Sort": "3"
          }
        ],
        "EditCss": [
          {
            "Url": "/cr/css/dropzone.min.css",
            "Environment": "any",
            "Sort": "1"
          },
          {
            "Url": "/cr/css/croppie.min.css",
            "Environment": "any",
            "Sort": "2"
          },
          {
            "Url": "/cr/css/croppie-cloudscribe.css",
            "Environment": "any",
            "Sort": "3"
          }
        ]

      }
    ]
  }
You can see above all of the settings available for a content template. The settings are as follows:
- ProjectId - in SimpleContent ProjectId corresponds to SiteId in cloudscribe Core, so in a multi-tenant installation you can put a SiteId guid string there to make a template only available in that site, or use "*" to make it available to all sites.
- AvailableForFeature - use "Page", "Post" or "*" to make the template available in pages posts or both.
- Key - must be a unique string across all templates, I recommend use a prefix to avoid possible clashes, or you could use a guid string.
- Title - the title or name of your template - shown in the list of available templates.
- Description - optional description shown in the list of templates.
- ModelType - the fully qualified type of your model followed by a comma and then the assembly name where your model lives ie "namespace.classname, assemblyname"
- EditView - the path to your edit view a .cshtml file but you can leave off the file extension, the path here should be a relative to Views/Shared, so in the above example the path to the edit view is really Views/Shared/ContentTemplates/StaffMemberEdit
- RenderView - the path to your render view a .cshtml file but you can leave off the file extension, the path here should be a relative to Views/Shared, so in the above example the path to the edit view is really Views/Shared/ContentTemplates/StaffMemberRender
- DynamicRenderPartialView - the path to your dynamic render partial view (see above for explanation)
- FormParserName - only change this if you are injecting your own form parser to use with your template
- ValidatorName - only change this if you are injecting a custom validator to use with your template
- SerializerName - only change this if you are injecting a custom serializer/deserializer to use with your template
- Enabled - if you want to disable a template temporarily set this to false and it will not be shown in the list for creating new content
- EditScripts - a list of javascript urls to include on the edit page
- EditCss - a list of CSS file urls to include on the edit page
- RenderScripts - list of javascript urls to include on the view page
- RenderCss - list of CSS file urls to include on the view page
Adding Templates from a Separate Razor Class Library (local project reference or NuGet)
One or more content templates can be developed in a separate Razor Class Library project and optionally packaged as a NuGet package for consumption by other projects and developers. The standard set of content templates we ship are all in a Razor Class Library (source code here) and shipped to the public as a NuGet package. If you develop content templates that would be useful in other projects, this is the recommended approach.
The way that you add templates from your class library is to implement a simple interface with one method that returns a list of all the templates in your class library, this interface is IContentTemplateProvider. You can see the code for our template library IContentTemplateProvider implementation here. Any number of these interfaces can be injected and the available templates from all of them will be aggregated into a single list along with any templates added by configuration. The list of available templates is also searchable and paginated if there are more than 10 templates.
If you look at the code for our our content templates razor class library, what you will find there are
- ViewModels
- Razor Views , edit and render views, and some partial views used by the edit and render views
- Some configuration model classes, the individual templates have some things that can be configured in appsettings.json and there are some classes that get wired up from configuration with properties used to configure template specific things, like image size preferences in the gallery, whether to keep the full size images that get automatically resized for the web, etc.
- A few embedded javascript and css files to support the various templates
- One Controller that we use to serve the embedded javascript and css
- An empty class just used for IStringLocalizer so templates can be localized
- A static class for IServiceCollection extensions, that adds our IContentTemplateProvider and wires up the configuration classes for our templates
That is it, there is nothing more in there, no fancy code or logic, just models, views, javascript and css, and one controller to serve the javascript and css in order to keep the templates self contained. The views can have nested partial views and use taghelpers and view components since they are just standard Razor views. Using a Razor Class Library allows you to have the views pre-compiled in your class library. The views can be copied local to the project and customized as well. Any view found in the local project is used in preference to the one in the Razor Class Library.
In your projects you can also make custom templates that re-use models and views from our nuget shipped templates. For example maybe you want to use the same model and edit view but do something completely different with rendering. You could just copy the render view locally to override it but maybe you want to keep the current template using the existing render view but add a new template that uses another render view. Some of our templates support "Layouts", for example the "Simple Image Gallery" has six layouts to choose from, and the "One to four sections..." template has two layouts. For those you could add additional layouts of your own. The "Layouts" correspond to partial views used by the render view, and the dropdown list of available layouts is also in a partial view, that you could copy local to your project and add another item to the list for your own custom layout view to render the gallery.
Steps to Create a Content Template
- Create a view model, optionally with data annotations for required fields or other validation needs.
- Create an edit partial view for editing your view model
- Create a partial view that uses _LayoutEmpty for rendering your view model
- Declare the template in configuration as shown above or implement IContentTemplateProvider to add your templates to the system.
That is it for a simple template. Optionally you may implement some javascript and/or css to support the specific needs of your template for editing and for viewing. Some example use cases for custom templates: a staff profile page template, a product detail page template, or templates specific to your line of business needs.
If you've tried our templates you probably noticed some easy-to-use features for uploading, browsing, and cropping images. Those things are all re-useable in your own templates. For example the script for the image "drag, drop and crop" widget is part of cloudscribe.FileManager project which is used by both cloudscribe Core and cloudscribe SimpleContent. They are mostly implemented as unobtrusive javascript which means you just add the script and you add some data- attributes to elements and the scripts wire themselves up to the elements they detect. Hopefully soon we will add some documentation about those scripts as well, but you can probably figure out how to use them by looking at how we used them in our templates.
